Did you know that a well-maintained vehicle can retain up to 90% of its original value after five years?
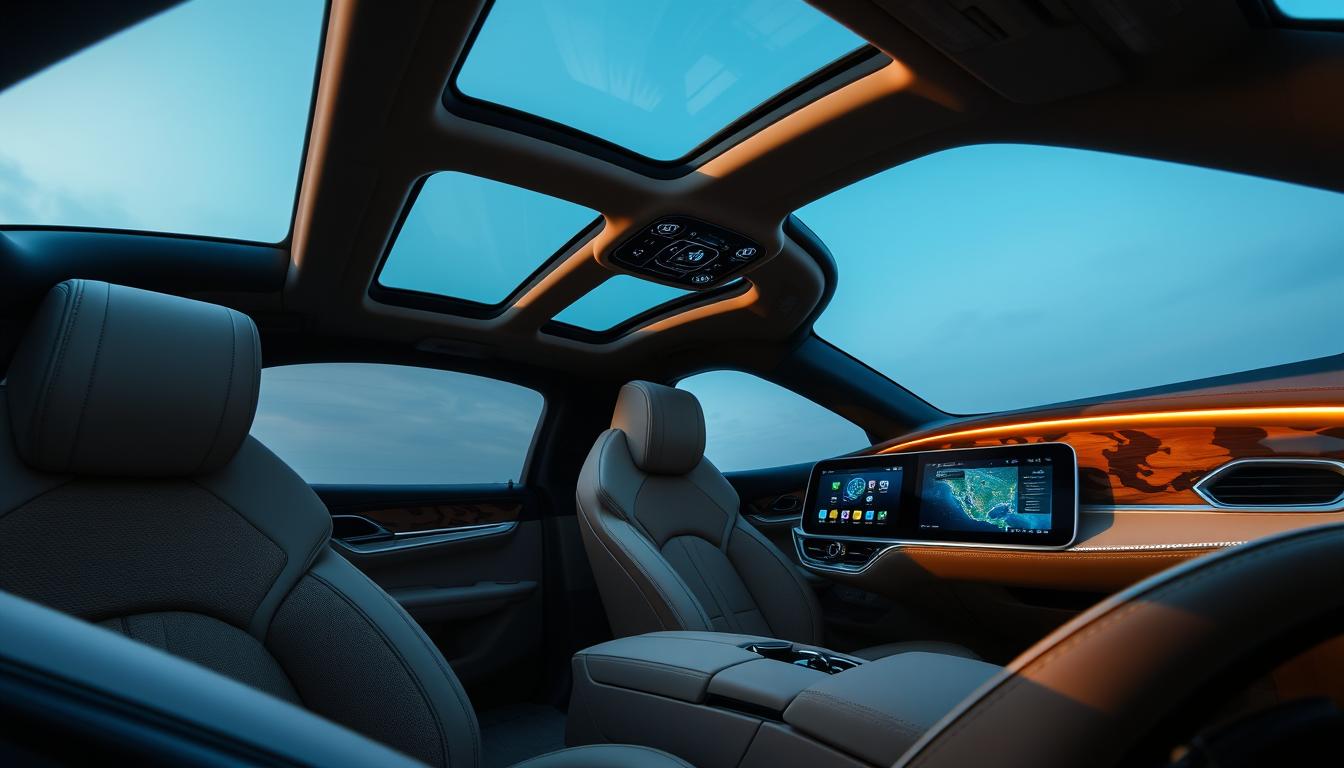
Owning a car is more than just driving it; it’s about keeping it in pristine condition. That’s where professional detailing techniques come into play.
We’re excited to share our comprehensive guide to achieving that coveted finish for your vehicle through expert tips and tricks.
For personalized advice on your specific detailing challenges, don’t hesitate to reach out to us via WhatsApp at +44-7822010953.
Key Takeaways
- Learn expert techniques to achieve a flawless finish.
- Discover the most effective ways to maintain your vehicle’s appearance.
- Get insider tips to make your car look like new.
- Understand the importance of regular detailing for your vehicle’s longevity.
- Find out how to achieve professional-grade results at home.
Why Professional-Level Car Detailing Matters
The importance of professional-level car detailing cannot be overstated, as it plays a crucial role in preserving your car’s value and longevity. At its core, car detailing is about more than just cleaning; it’s a comprehensive process that involves cleaning, correcting, and protecting every surface of your vehicle.
The Difference Between Washing and Detailing
A simple car wash removes surface dirt, but professional-level detailing is a systematic process that goes beyond surface cleaning. It involves a thorough examination and attention to detail to address issues like embedded contaminants, oxidation, and minor surface imperfections that regular washing can’t handle. As we believe, understanding this difference is essential for vehicle owners who want to maintain their car’s appearance and value.
Benefits of Regular Detailing for Vehicle Longevity
Regular detailing offers significant benefits beyond aesthetics, including protection against environmental damage and prevention of premature aging. By detailing your car regularly, you’re not only maintaining its appearance but also preserving its resale value. Our experience has shown that consistent detailing can extend the life of automotive paint, interior materials, and mechanical components.
| Detailing Aspect | Benefits |
|---|---|
| Paint Protection | Prevents rust and maintains paint integrity |
| Interior Cleaning | Preserves interior materials and maintains a healthy environment |
| Environmental Protection | Guards against UV damage and environmental contaminants |
As shown in the table, regular detailing provides comprehensive protection for your vehicle, enhancing its longevity and maintaining its overall condition. The results of proper detailing are immediately visible, but the long-term benefits are just as important.
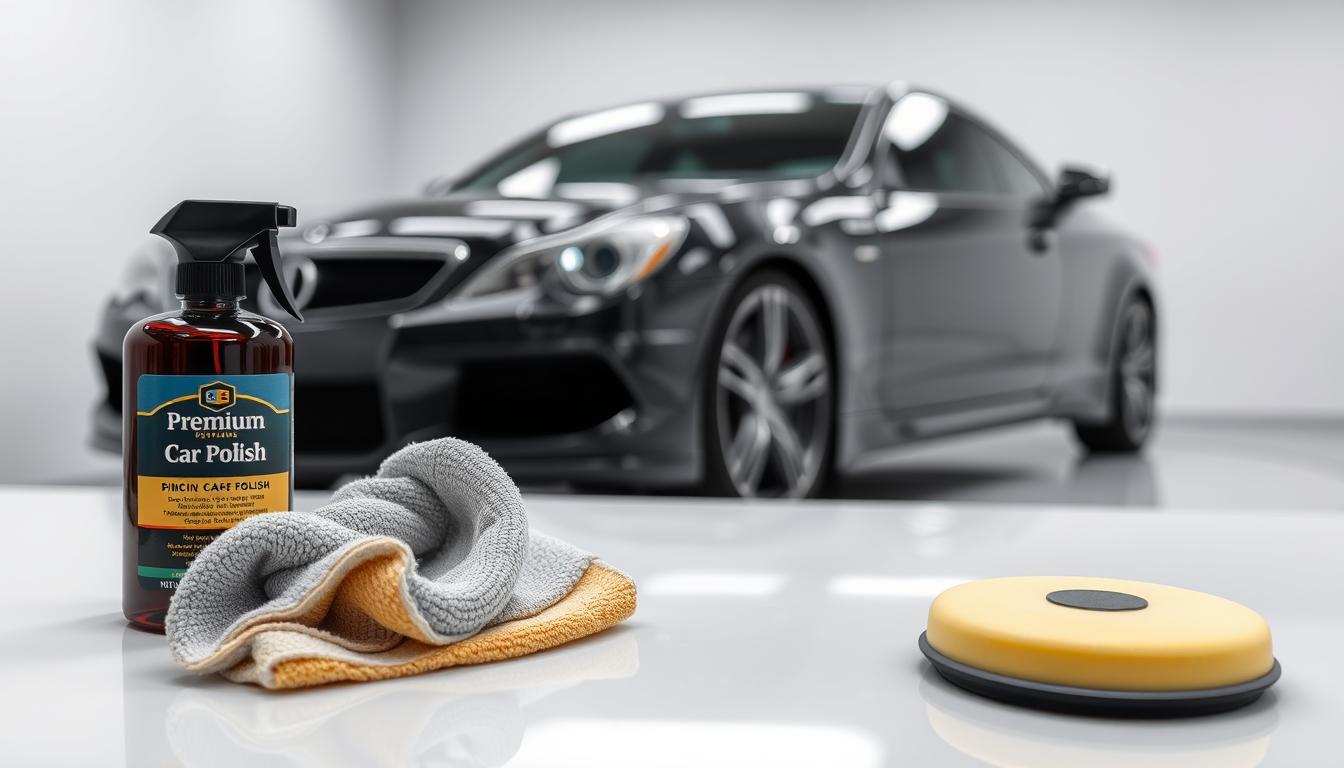
Essential Tools for DIY Car Detailing
Having the right equipment is crucial for transforming your car cleaning routine into a professional-grade detailing experience. When detailing your car, it’s essential to start with the right tools to achieve a showroom-worthy finish.
Must-Have Cleaning Products
For a successful DIY car detailing session, you’ll need the right cleaning products. We recommend starting with a pH-balanced car shampoo that’s gentle on your car’s paint. Other essential products include a dedicated wash mitt and a proper drying towel. Investing in quality products makes a significant difference in your detailing results.
- High-quality microfiber towels
- pH-balanced car shampoo
- Dedicated wash mitt
Recommended Equipment for Beginners
As a beginner, it’s essential to have the right equipment to get started with DIY car detailing. Some of the must-have tools include a detailing brush for intricate areas and a clay bar for surface decontamination. Organizing your detailing supplies in a caddy or bucket system can also help keep everything accessible and prevent cross-contamination between products.
| Tool | Purpose |
|---|---|
| Detailing Brush | Cleaning intricate areas |
| Clay Bar | Surface decontamination |
| Microfiber Towel | Drying and cleaning surfaces |
The Two-Bucket Washing Method
The two-bucket washing method is a simple yet effective technique for preventing paint damage during the washing process. This method involves using two separate buckets: one for soapy water and another for clean rinse water. By doing so, you significantly reduce the risk of transferring dirt and debris back onto your car’s surface, thereby minimizing the chance of scratches and swirl marks.

Preventing Swirl Marks and Scratches
Swirl marks and scratches are common issues that arise from improper washing techniques. The two-bucket method helps mitigate this risk by ensuring that your wash mitt is rinsed thoroughly in the clean water bucket before being dipped back into the soapy water. This simple step makes a significant difference in maintaining your car’s paintwork.
Proper Washing Technique
To maximize the effectiveness of the two-bucket method, it’s essential to follow a proper washing technique. Start by rinsing your car thoroughly to remove loose dirt. Then, work from the top down, washing one section at a time, and keep the surface wet throughout the process to prevent water spots. For extremely dirty vehicles, consider a pre-rinse with a pressure washer or hose before washing.
Pre-Wash Rinse: The First Step to Perfection
A pre-wash rinse is the foundational step that sets the stage for a successful car detailing process. If you hit your dry paint with soapy water, you’ll just grind the surface dust and road grit into your paint finish. Professional detailers always start with a clear water rinse to remove as much dust and dirt as possible.
Removing Surface Contaminants
Our pre-wash technique focuses on loosening and removing surface contaminants, road grime, and loose debris before any physical contact with the paint. This step is crucial in preventing swirl marks and scratches, especially on dark-colored vehicles. By removing these contaminants, we ensure a smoother detailing process.
Best Practices for Pre-Washing
We recommend using a pressure washer on a gentle setting or a hose with good water pressure to flush away dirt from all surfaces, paying special attention to lower panels and wheel wells. For vehicles with heavy soil, applying a pre-wash foam or spray can break down stubborn dirt and traffic film without aggressive scrubbing. For more information on effective pre-wash techniques, visit our guide on car power washer hacks.

Microfiber Magic: Choosing the Right Towels
In the world of car detailing, microfiber towels are unsung heroes, providing the necessary quality and versatility for various tasks. We believe that quality microfiber towels are essential for achieving a showroom-worthy finish, and their effectiveness lies in their variety and proper use.

Different Types for Different Tasks
Not all microfiber towels are created equal. Higher GSM (grams per square meter) towels with a plush pile are ideal for drying and buffing, while shorter pile towels work better for glass and interior surfaces. We recommend color-coding your microfiber collection to prevent cross-contamination – for example, using blue for glass, red for wheels, and yellow for interior cleaning.
Proper Care and Maintenance of Microfiber Products
To maintain the effectiveness of your microfiber towels, proper care is essential. We suggest washing them separately from regular laundry, avoiding fabric softeners, and drying on low heat. For delicate areas like navigation screens and piano black trim, use the softest, highest-quality microfiber available to prevent micro-scratches. By following these tips, you can ensure your microfiber towels remain in good condition and continue to provide excellent cleaning results for your car’s surface and other areas.
Clay Bar Treatment for Silky-Smooth Surfaces

The secret to a flawless car finish lies in removing embedded contaminants that regular washing can’t touch. Even after a thorough wash, tiny contaminants like tree sap, industrial fallout, and tar can cling to your car’s surface. A clay bar helps remove these impurities, leaving the paint smooth and ready for polishing.
How Clay Bars Remove Embedded Contaminants
We consider clay bar treatment an essential step that separates amateur cleaning from professional detailing. It removes contaminants that washing simply cannot touch, such as industrial fallout, tree sap, and rail dust, which create a rough texture you can feel but often can’t see.
Step-by-Step Clay Bar Application
To effectively use a clay bar, gently glide it over your car’s surface using a clay lubricant. We recommend working in small 2’x2′ areas, keeping the surface well-lubricated, and folding the clay frequently to present a clean surface as it picks up contaminants. For heavily contaminated vehicles, certain areas may need to be clayed multiple times.
Key benefits of clay bar treatment include:
– Removing embedded contaminants for a smoother surface
– Preparing the paint for polishing
– Achieving a glass-like smoothness essential for a showroom-worthy finish
Polishing Techniques for Removing Imperfections

The true magic in car detailing happens during polishing, where imperfections vanish and the paint’s brilliance is revealed. Polishing is a crucial step that removes small surface imperfections and scratches, buffing the finish to a shine. It’s often confused with waxing, but they’re distinct processes. While waxing adds gloss and protects the finish, polishing is about correcting the surface.
We emphasize that polishing is where the true transformation of your car’s appearance happens. It’s the step that removes swirl marks, light scratches, and oxidation to reveal the paint’s true brilliance.
Hand vs. Machine Polishing
Our approach to polishing varies based on your experience level and the condition of your paint. Hand polishing is suitable for minor imperfections and is a cost-effective method. However, for more dramatic results, especially on neglected finishes, machine polishing is the way to go. For beginners, a dual-action (DA) polisher is recommended as it’s more forgiving and less likely to damage the paint.
Choosing the Right Polish for Your Paint Type
When choosing the right polish for your vehicle, we consider factors like paint hardness, color, and the severity of defects. European cars typically have harder paint than Japanese or American vehicles, and dark colors show imperfections more readily. Starting with the least aggressive polish that will address your paint’s issues is key to avoiding unnecessary clear coat removal.
The results of proper polishing are dramatic, restoring depth, clarity, and gloss that no amount of washing or waxing alone can achieve. By choosing the right polishing technique and polish for your car’s paint type, you can achieve a showroom-worthy finish.
Car Detailing Hacks for a Showroom-Worthy Finish
Getting that perfect, head-turning finish on your vehicle is within reach when you use our top detailing tips. Professional detailers use various techniques to achieve flawless results, and we’re sharing some of their best-kept secrets.
Professional Secrets Anyone Can Use
One of the professional secrets we recommend is using isopropyl alcohol diluted with water to prep surfaces before applying wax or sealant. This inexpensive method ensures maximum adhesion and a longer-lasting finish. Polishers are a game-changer in car detailing; unlike high-speed buffers that can damage paint, polishers run at lower speeds and oscillate, making them safe and effective for DIYers to achieve professional results.
Using the right tools is crucial. For instance, a dual-action polisher can help you achieve a flawless finish without risking damage to your car’s paint.
Time-Saving Techniques That Don’t Sacrifice Quality
To save time without compromising on quality, consider using quick detailer spray between washes. It removes light dust and fingerprints while enhancing protection in just minutes. Working from top to bottom is another efficient technique for interior cleaning, using a lightly dampened microfiber cloth followed by a dry one to prevent water spots.
Other time-saving tips include using compressed air or a detailing brush wrapped with a microfiber cloth to clean vents and tight spaces quickly.

Sealing the Deal: Wax vs. Sealant vs. Ceramic Coating

After polishing your car’s paint to perfection, the next step is to seal it with a protective layer that suits your needs. The choice between wax, sealant, and ceramic coating depends on your priorities regarding appearance, durability, and maintenance.
Understanding Different Protection Options
We believe that choosing the right protection for your vehicle’s finish is crucial. Each option offers different benefits in terms of appearance, durability, and application requirements. Carnauba wax provides a warm, deep shine but typically lasts 4-8 weeks. Synthetic sealants offer a more reflective finish with 4-6 months of protection. For ultimate defense, ceramic coatings create a semi-permanent bond with your paint that can last 2-5 years.
Application Tips for Maximum Durability
For maximum durability, proper surface preparation is key. Ensure the paint is clean and free of contaminants before applying any protection layer. Work in optimal conditions, following the manufacturer’s instructions for the chosen product. Whether you opt for wax, sealant, or ceramic coating, careful application will significantly enhance the longevity of the protection.
Interior Detailing: Beyond the Vacuum
Interior detailing goes beyond just vacuuming; it’s about creating a clean and comfortable driving environment. We approach interior detailing with the same attention to detail as exterior work, recognizing that a clean, fresh interior dramatically improves your driving experience.
Deep Cleaning Upholstery and Carpets
For fabric seats and carpets, using an extractor or steam cleaner is recommended to remove deep-set dirt and stains that regular vacuuming can’t touch. This process helps in eliminating embedded dirt and odors, leaving your car’s interior smelling fresh.
Some key areas to focus on include:
- Seats and footwells where dirt and debris accumulate
- Carpets and floor mats that can harbor deep-seated dirt
Treating Leather and Vinyl Surfaces
When treating leather surfaces, it’s crucial to use pH-balanced cleaners followed by proper conditioners to prevent drying and cracking while maintaining that supple leather feel. For vinyl surfaces, a gentle cleaner and a microfiber cloth can help restore their original appearance.
| Surface Type | Recommended Cleaner | Additional Treatment |
|---|---|---|
| Leather | pH-balanced cleaner | Leather conditioner |
| Vinyl | Gentle vinyl cleaner | Microfiber cloth |

Wheel and Tire Detailing Secrets
To achieve a showroom-worthy finish, detailing your car’s wheels and tires is crucial. Your car’s wheels and tires are like its shoes—they need to look great too! Use a dedicated wheel cleaner to remove brake dust and grime, then apply a tire dressing for a rich, black finish.

We believe that properly detailed wheels and tires provide the perfect finishing touch to your vehicle – they’re often the first thing people notice about a well-detailed car. Our wheel cleaning process starts with specialized cleaners formulated for your specific wheel type.
Removing Brake Dust and Road Grime
We recommend using a wheel-specific cleaner to remove brake dust and grime. For stubborn brake dust, iron remover products can be effective. Use wheel-specific brushes to reach between spokes and into lug nut recesses where brake dust accumulates.
Achieving That Wet Tire Look
For a natural satin finish, we prefer water-based tire dressing products applied with an applicator pad. This method prevents the product from slinging onto your paint or attracting excessive dust. Paying special attention to these areas elevates your entire detailing job.
Glass Cleaning for Perfect Clarity
Achieving perfectly clean glass surfaces is crucial for both the appearance and safety of your car. Streaks, smudges, and water spots can impair visibility and detract from your vehicle’s overall appearance.
We recommend using an ammonia-free cleaner and a microfiber towel to clean the glass inside and out. Our two-towel method involves using one damp microfiber towel with an automotive-specific glass cleaner followed by a second dry towel for buffing, which virtually eliminates streaking.
Streak-Free Window Cleaning Methods
For interior and exterior glass, we suggest cleaning in two different directions to identify any remaining streaks easily. For instance, clean the exterior glass horizontally and the interior glass vertically. This tip helps in achieving perfectly clean glass.
Treating Water Spots and Hard Water Stains
Water spots and mineral deposits can be challenging to remove. We address these issues with specialized glass polishes or mild abrasives designed for automotive glass. These products effectively remove spots without scratching the surface, ensuring your car’s glass remains in pristine condition.
As a valuable tip, cleaning your windshield wipers while detailing your glass can prevent redepositing dirt and streaking during rain.
Engine Bay Detailing: Safe and Effective Methods
A clean engine bay not only enhances your vehicle’s look but also helps in identifying potential mechanical issues early on. We approach engine bay detailing with extra caution, as it’s an often-neglected area that can dramatically improve your car’s appearance and performance.
Before we begin the cleaning process, it’s essential to protect sensitive areas to avoid any damage. This involves covering electronic components, alternators, and exposed air intakes with plastic bags or aluminum foil.
Cleaning Without Damaging Electronics
To clean the engine bay safely, we recommend using a degreaser specifically formulated for this purpose. Apply the degreaser to a cool engine and allow it to dwell for a while to break down the grime effectively. When rinsing, use low-pressure water or a gentle spray bottle to minimize the risk of water damage to electronic components.
For tougher grime, such as grease and dirt, wipe the area with a clean cloth. If there are any bits of sand embedded in the grease, make sure to remove them carefully. For rusted or stuck parts, a spray of WD-40 followed by moving the mechanism several times can help. Afterward, wipe it clean and apply a liberal coating of white lithium grease.
| Cleaning Method | Tools/Products | Precautions |
|---|---|---|
| Degreasing | Engine bay degreaser | Avoid spraying directly on electronics |
| Rinsing | Low-pressure water or spray bottle | Minimize water usage around electronics |
| Dressing | Water-based dressing | Avoid applying on hot surfaces or electronics |
Dressing for a Professional Look
After the engine bay is completely dry, we apply a water-based dressing to plastic, rubber, and vinyl components. This gives the engine bay a factory-fresh appearance without an overly glossy finish. Paying attention to this often-overlooked area not only enhances your vehicle’s overall appearance but also makes fluid leaks and mechanical issues easier to spot during routine maintenance.
By following these steps and using the right cleaning products, you can achieve a clean and well-maintained engine bay that contributes to your car’s overall health and appearance.
Maintaining That Showroom Shine Between Details
Preserving your car‘s exterior and interior appearance between details doesn’t have to be time-consuming or complicated. With a few simple techniques and regular care, you can maintain that showroom shine with minimal effort.
Quick Touch-Up Techniques
One of our favorite quick maintenance techniques is using a quality quick detailer spray and a clean microfiber towel to remove dust, fingerprints, and light contaminants in just minutes. For more information on the best products to use, check out our guide on essential car care. We also recommend keeping a small detailing kit in your trunk with quick detailer, glass cleaner, interior wipes, and microfiber towels for addressing unexpected messes or touch-ups before important arrivals.
Protective Measures for Daily Driving
For daily drivers, we recommend protective measures like parking in shaded areas when possible and using car covers in harsh environments to protect the exterior. Promptly addressing bird droppings or tree sap that can damage your finish is also crucial for maintaining the protection layers on your car. By taking these steps, you can preserve your vehicle’s appearance and reduce the need for frequent washes.
Troubleshooting Common Detailing Problems
As detailers, we’ve encountered a range of problems that can affect a car’s finish, from water spots to stubborn stains. These issues can be frustrating, but with the right techniques and products, they can be resolved.
Dealing with Water Spots and Streaks
Water spots can be particularly troublesome, especially if they’re allowed to dry on the car’s surface. To remove them, it’s essential to understand their type. Fresh water spots can often be removed with a quick detailer, while mineral deposits may require specialized water spot removers or even light polishing. Streaks on glass surfaces can be caused by residue from cleaners, improper towels, or contaminated water. Using a microfiber towel and a streak-free cleaner can help prevent these issues.
- Identify the type of water spot to choose the right removal method.
- Use a microfiber towel to prevent streaks on glass surfaces.
Removing Stubborn Stains and Contaminants
Stubborn stains like tree sap or bird droppings require prompt attention to prevent damage to the car’s paint. Using a targeted cleaner and gentle agitation can help remove these stains without damaging the surface. For embedded contaminants, a systematic approach using clay bars, tar removers, or iron decontaminants may be necessary.
- Act quickly to remove stubborn stains to prevent damage.
- Use the right tools, such as clay bars or tar removers, to remove embedded contaminants.
Conclusion: Achieving and Maintaining That Showroom-Worthy Finish
By following the steps and tips outlined in this article, you’ll be able to achieve and maintain a showroom-worthy finish on your vehicle. We’ve covered the complete journey from basic cleaning to achieving that coveted showroom-worthy finish through professional-level detailing techniques accessible to any enthusiast. Our comprehensive approach addresses every aspect of your car’s exterior and interior, from paint, glass, and wheels to upholstery, trim, and those easily overlooked details that make a big difference.
Achieving spectacular results doesn’t necessarily require expensive equipment or products, but rather understanding the proper detailing techniques, sequence, and attention to detail. The detailing process we’ve outlined creates a system you can follow repeatedly, adjusting the frequency of certain steps based on your vehicle’s condition and your available time.
Regular maintenance using the quick-touch techniques we’ve shared helps preserve that showroom finish between more comprehensive detailing sessions. We encourage you to start with the basics and gradually incorporate more advanced techniques as you build confidence and see the remarkable transformation in your car’s appearance. For personalized advice on specific detailing challenges or product recommendations for your particular vehicle, don’t hesitate to contact us via WhatsApp at +44-7822010953.
Remember that proper protection through wax, sealants, or ceramic coatings is essential to maintaining your results and making future cleaning easier. The pride and satisfaction that comes from transforming your own vehicle into a showroom-worthy example of automotive perfection is well worth the effort you’ll invest in the process. We wish you success in your detailing journey and look forward to hearing about your results!
## FAQ
### Q: What is the best way to prevent swirl marks and scratches during the washing process?
A: We recommend using the two-bucket washing method, which involves separating clean water from dirty water to prevent dirt and debris from being transferred back onto the vehicle’s surface. Using a microfiber mitt can also help to reduce the risk of scratches.
### Q: How often should I detail my vehicle’s interior?
A: We suggest detailing your vehicle’s interior every 1-3 months, depending on usage and personal preference. Regular vacuuming and wiping down surfaces can help to maintain a clean and healthy interior environment.
### Q: What is the difference between wax, sealant, and ceramic coating?
A: Wax provides a temporary layer of protection and shine, while sealant offers longer-lasting protection against the elements. Ceramic coating is a more advanced, durable option that provides long-term protection and ease of maintenance.
### Q: How do I remove stubborn stains and contaminants from my vehicle’s upholstery?
A: We recommend using a gentle cleaning product specifically designed for the type of upholstery you have. For tough stains, applying the cleaner and letting it sit for a few minutes before blotting can be effective. Always test a small area first to ensure the cleaner doesn’t damage the material.
### Q: Can I use household cleaners on my vehicle’s surfaces?
A: We advise against using household cleaners on your vehicle’s surfaces, as they can be too harsh and damage the paint, trim, or other materials. Instead, opt for products specifically designed for automotive use.
### Q: How can I achieve a streak-free window cleaning?
A: We recommend using a microfiber towel and a cleaner specifically designed for automotive glass. Spray the cleaner onto the towel, not directly onto the glass, to prevent drips and streaks.
### Q: What is the best way to maintain my vehicle’s showroom shine between details?
A: We suggest regular washing, drying, and applying a quick detailer or spray wax to maintain the shine and protect the paint. Avoid using harsh products or abrasive materials that can damage the surface.